
If you’ve decided to stop using Dashlane, a popular password manager known for its secure vault and autofill features, you may be wondering how to delete your account safely and permanently. Whether you’re switching to a different service or simplifying your digital footprint, understanding the correct steps is essential to protect your personal data. This blog offers a clear, step-by-step guide on how to delete your Dashlane account through the web interface, providing background on Dashlane’s service, an overview of the deletion process, and practical tips to ensure your sensitive information is fully removed. By the end of this guide, you’ll have all the information you need to confidently close your account without leaving anything behind.
Things To Consider Before Deleting Your Dashlane Account
Before you delete your Dashlane account note down these things:
-
Backup Your Passwords:
Once your Dashlane account is deleted, all stored passwords, secure notes, and personal data will be permanently erased. Export your data if you plan to use it elsewhere. -
Cancel Premium Subscription:
If you’re on a paid plan, make sure to cancel your subscription to avoid future charges. Deleting the account does not automatically stop billing. -
Transfer Shared Items:
If you’ve shared credentials with family or team members, transfer ownership or inform them before deleting your account to avoid disruptions. -
Check Linked Devices:
Make sure to sign out and disconnect your Dashlane account from all devices. This prevents any confusion or data sync errors after deletion. -
Consider Downgrading Instead:
If you’re unsure about leaving permanently, consider downgrading to the free plan instead of deleting your account entirely. -
Two-Factor Authentication Access:
Ensure you have access to your 2FA device or recovery codes in case Dashlane requires verification during the deletion process. -
Clear Autofill Settings:
If you’ve used Dashlane’s autofill features, clear saved data from your browsers to prevent autofill conflicts after deletion.
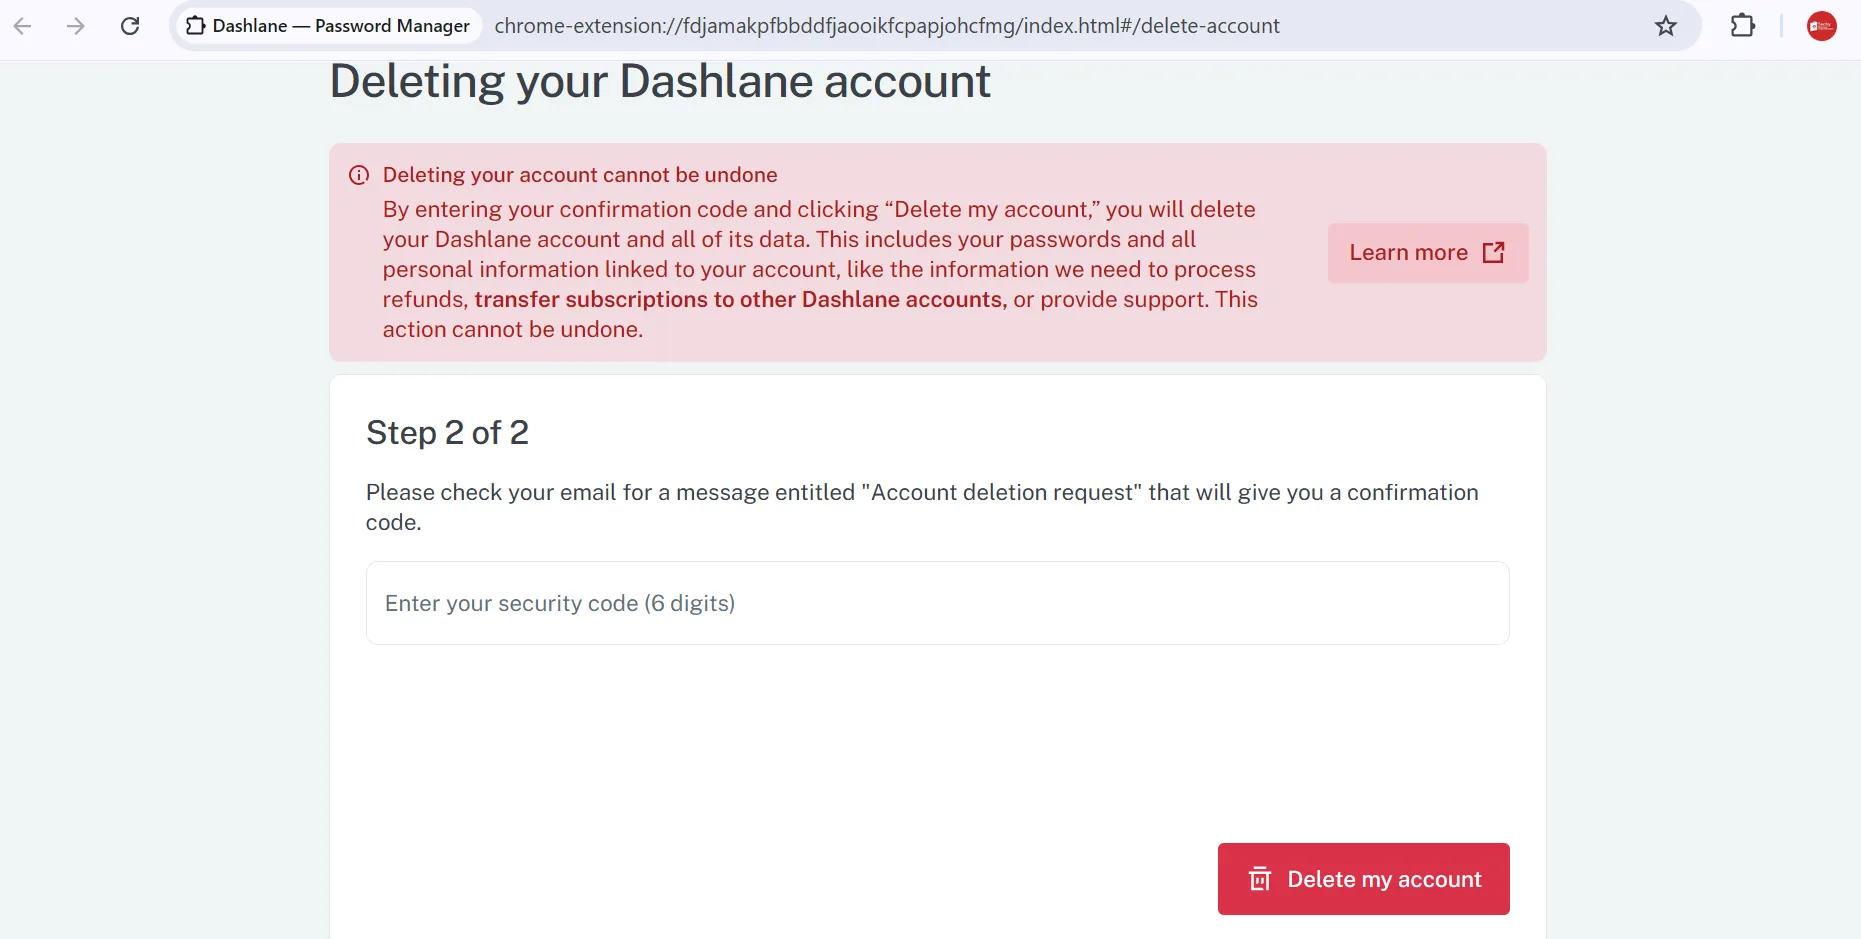
What Happens When I Delete My Account?
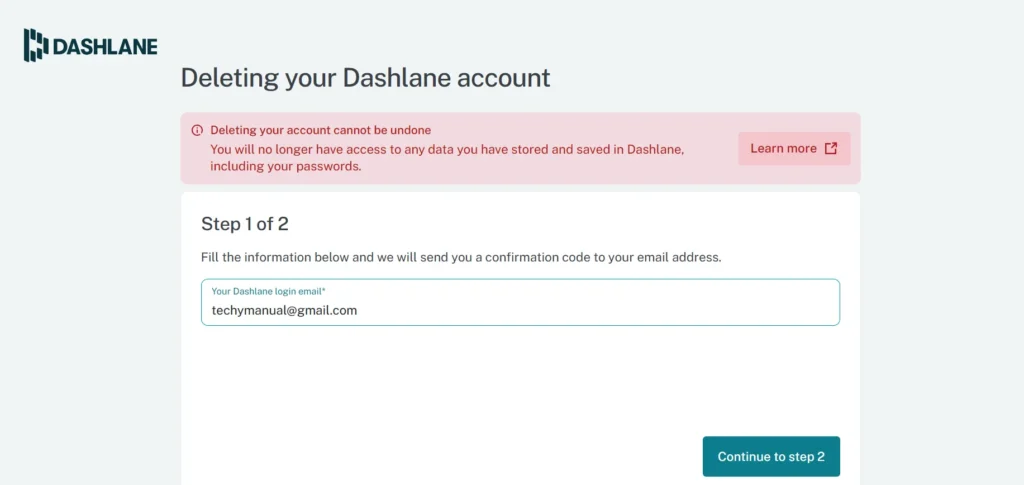
Follow Step-By-Step Process To Delete Dashlane Account
-
If you are currently logged in, log out first.
-
Then it will ask for your email address.
-
After submitting your email address, you will receive a verification code in your email.
-
Enter the code on the page.
-
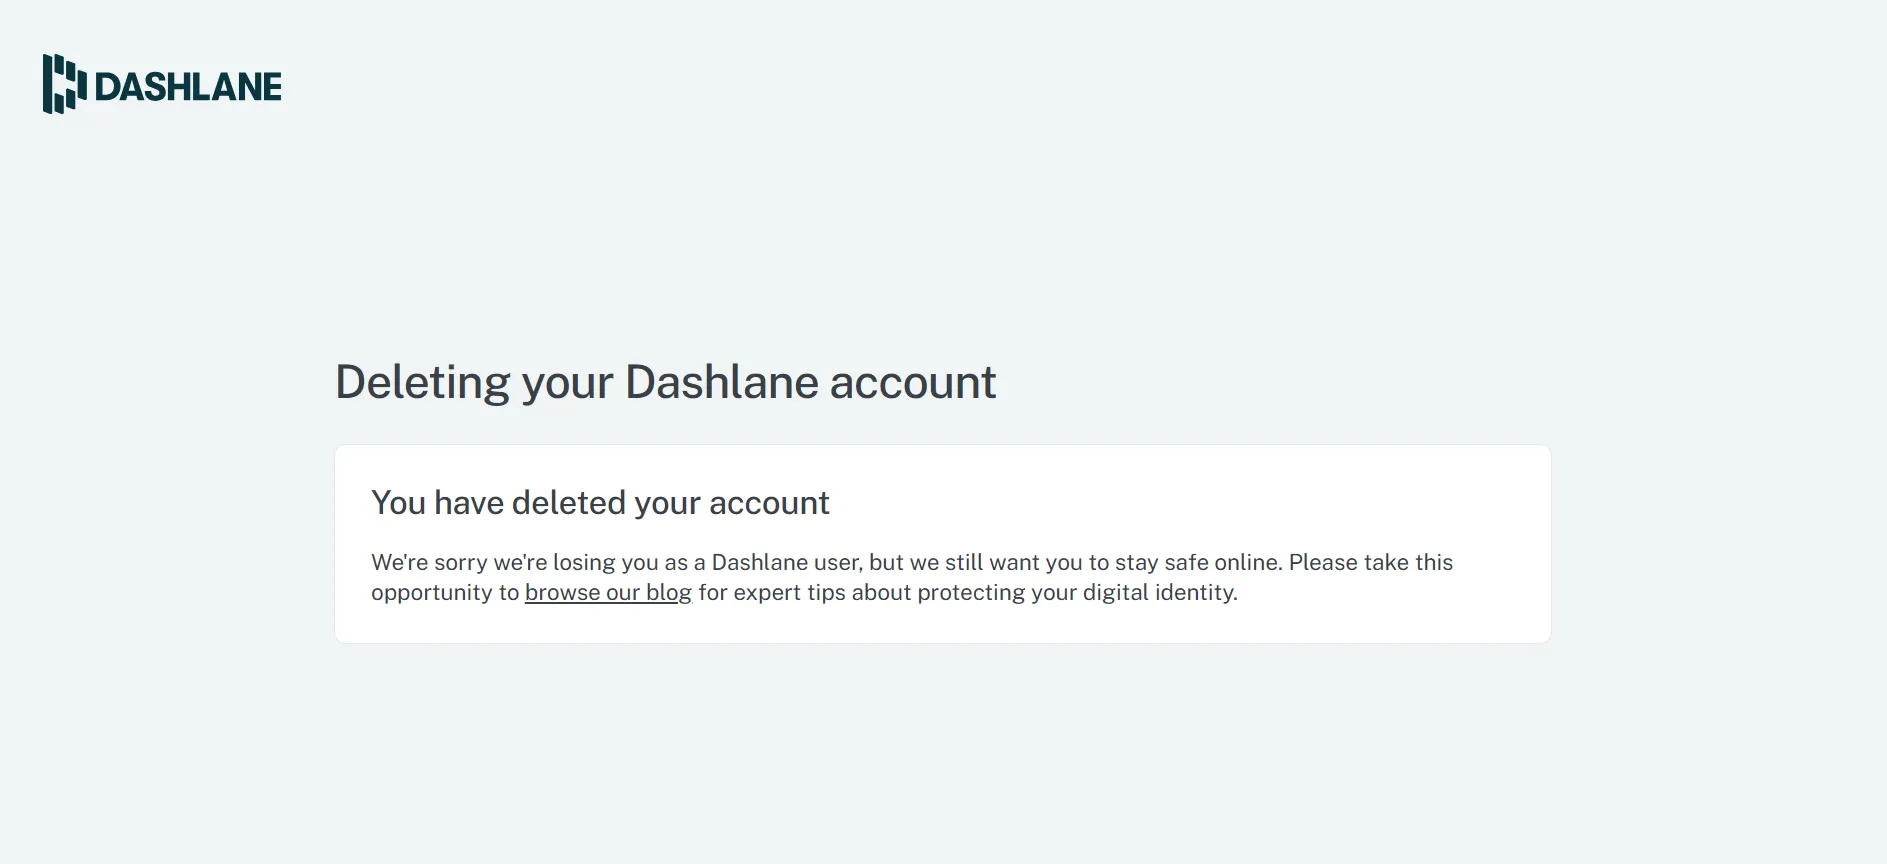
Once you submit the code, your account will be deleted.
Deleting Dashlane Account Of A Deceased Family Member
If you are unable to delete your Dashlane account using the standard deletion page, you can also request account deletion by contacting Dashlane support directly. You can send an email to support@dashlane.com and request the permanent deletion of your account. In the email, include the email address associated with your Dashlane account and clearly state that you want your account to be deleted. Dashlane support may ask you to verify your identity before processing the request. You can also contact Dashlane support by phone at +1 (800) 952-5210 and ask a support representative to assist you with deleting your account. Once your request is verified, the support team can proceed with permanently deleting your Dashlane account.
Deactivate Dashlane Account
Dashlane does not offer a traditional “deactivate” option for accounts. Instead, users can either continue using the free version with limited features or permanently delete their account. Deactivation, in the sense of temporarily disabling access while preserving data, is not supported by Dashlane.
Restore Account Incase Of Change Of Mind
Once a Dashlane account is deleted, it cannot be restored. Dashlane permanently erases all stored data, including passwords, notes, and personal information, to protect user privacy. If you change your mind after deletion, you will need to create a new account from scratch, as there is no backup or recovery option available.